Sending emails using templating and mail-merge
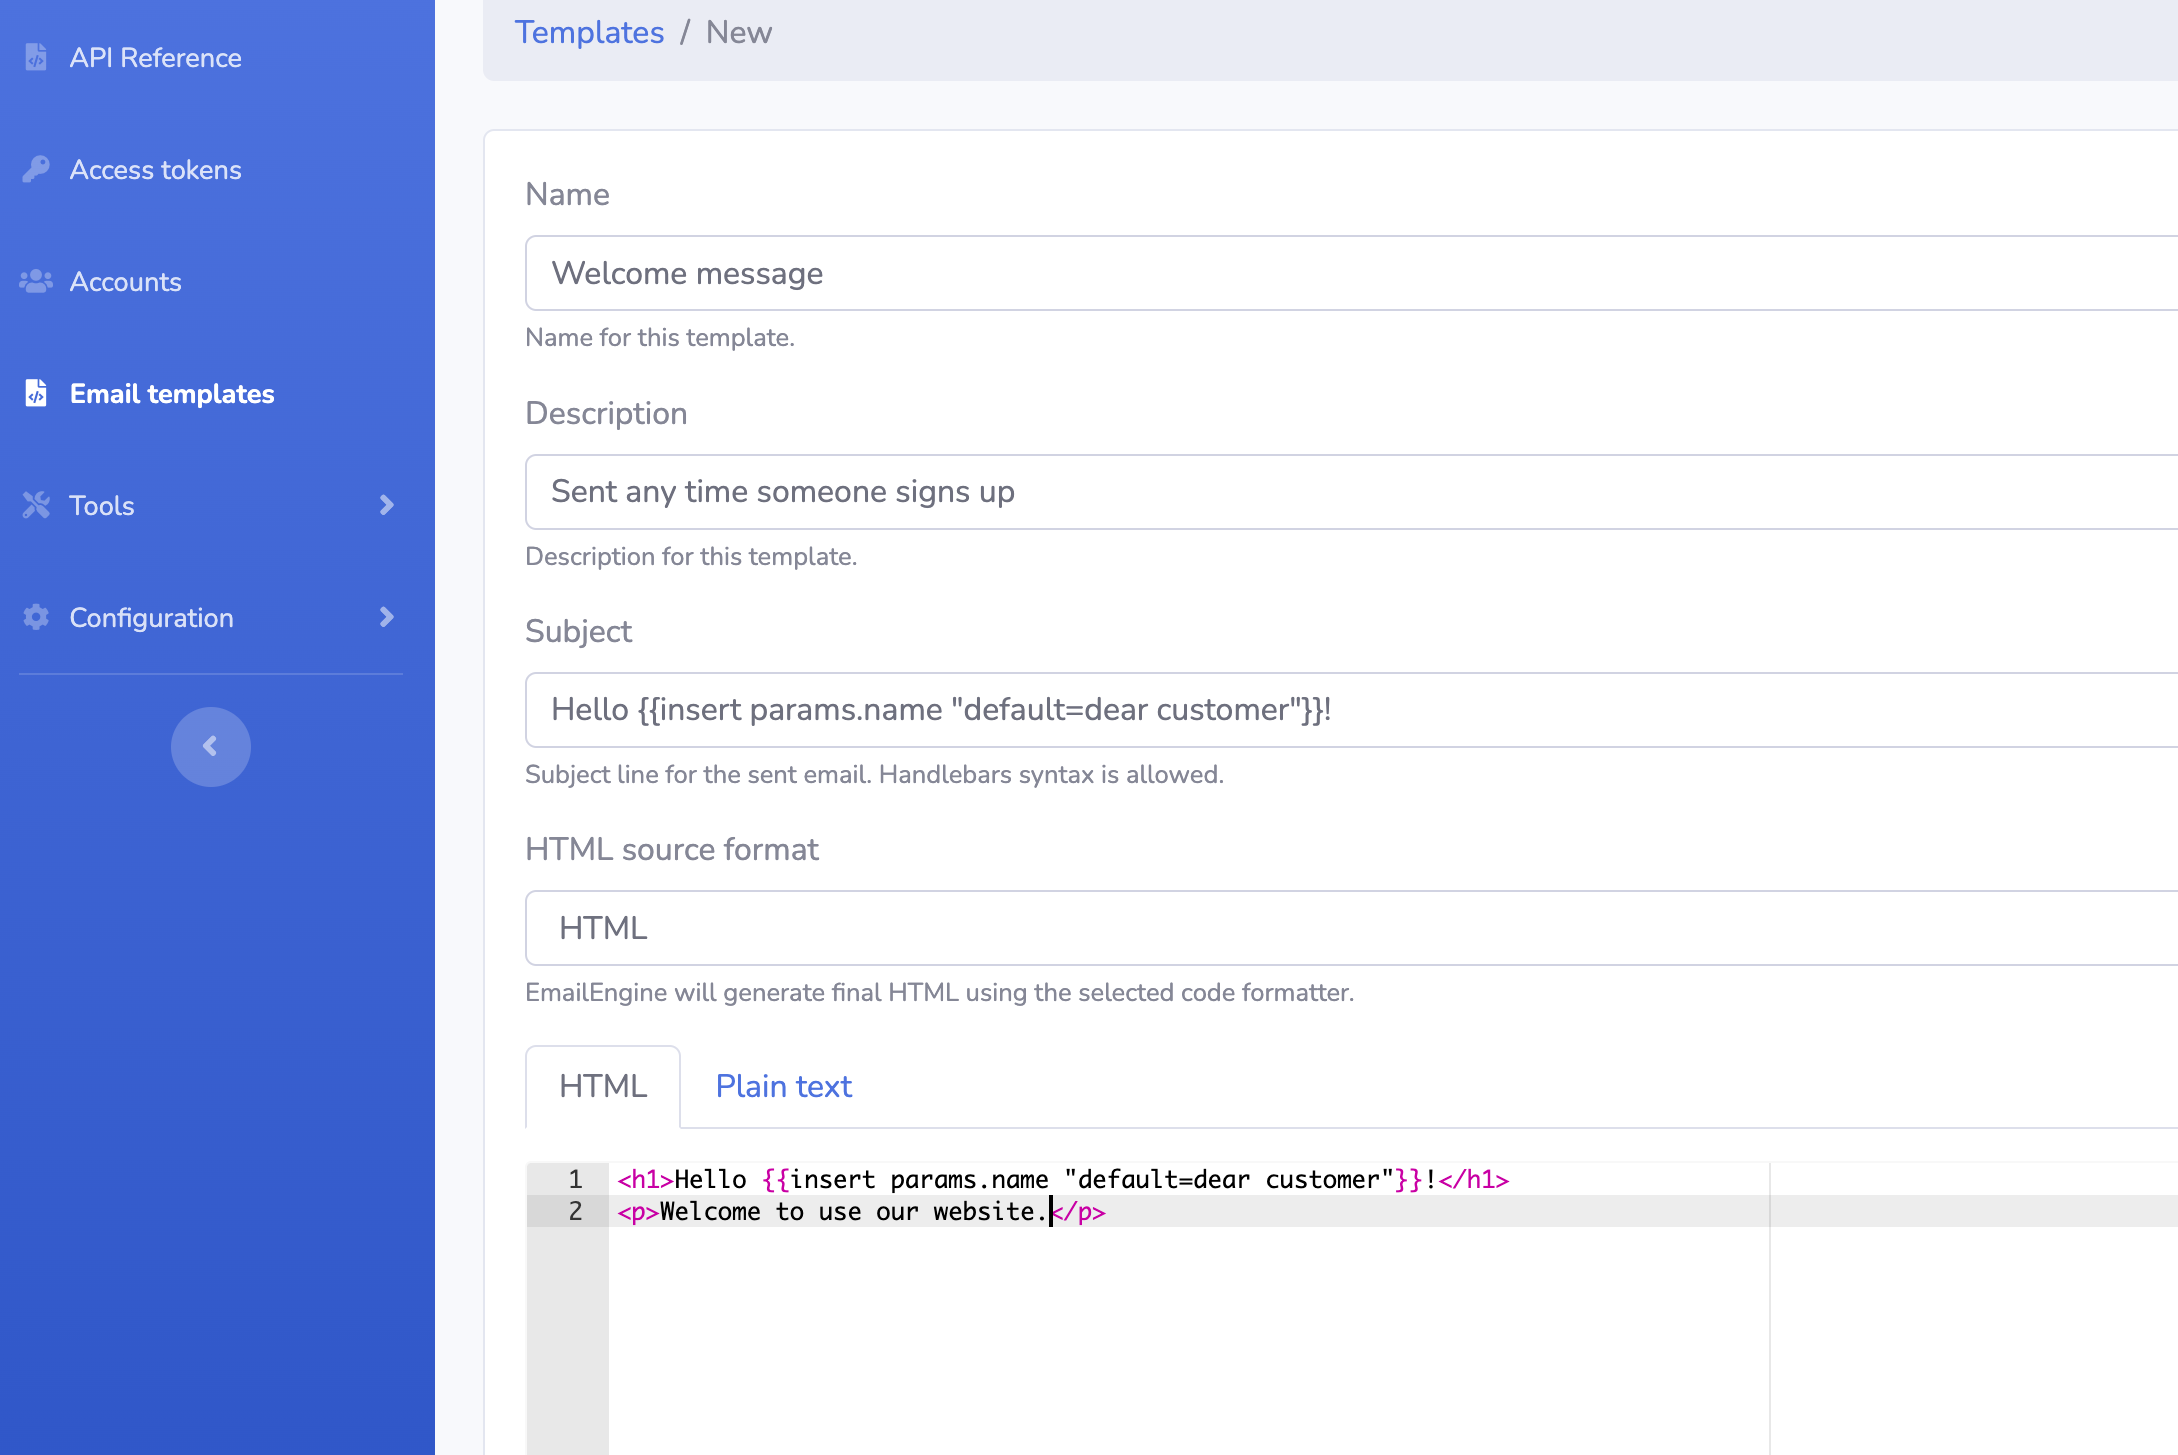
Email templating allows you to prepare and reuse email content efficiently. You can manage templates either by using the Templates API or via the administration interface (look for the Email templates link on the side menu).

When sending emails using the Submission API endpoint, do not set the "subject", "html", or "text" properties. Instead, set the "template" property with the template ID value. EmailEngine will use the contents of that template to compile the email message.
Example:
curl "http://your-emailengine-instance.local/v1/account/example/submit" \
  -H "Authorization: Bearer <token>" \
  -H "Content-Type: application/json" \
  -d '{
    "to": [
      {
        "name": "Recipient Name",
        "address": "recipient@example.com"
      }
    ],
    "template": "AAABgUIbuG0AAAAE",
    "render": {
      "params": {
        "key": "value"
      }
    }
  }'
You can include any other valid properties for submission, such as "reference" or "replyTo".
EmailEngine supports Handlebars syntax in templates. To utilize this feature, set the "render" property with the necessary replacement parameters.
Template HTML Content:
<p>Hello {{params.name}}!</p>Render Parameters:
"render": {
  "params": {
    "name": "John"
  }
}{{params.key_name}} for keys defined in the render.params object.{{account.key_name}} for sender account-specific keys, such as {{account.name}} or {{account.email}}. These are predefined and always available.{{service.key_name}} for EmailEngine-specific values, for example, {{service.url}} for the base URL of your EmailEngine instance.If a parameter is missing, you can specify a default value:
<p>Hello {{insert params.name "default=Customer"}}!</p>params.name defined: <p>Hello John!</p>params.name: <p>Hello Customer!</p>By default, HTML content in replacement parameters is sanitized. To insert unsanitized HTML content, use triple curly braces.
Sanitized Content:
{{params.key_name}}For example, the parameter value {"key_name": "<h1>Hello</h1>"} will be inserted to the HTML section of the email as <h1>Hello</h1>
Unsanitized Content:
{{{params.key_name}}}This inserts the parameter value into the template without any sanitization. The parameter value {"key_name": "<h1>Hello</h1>"} will be inserted as <h1>Hello</h1>.
EmailEngine supports the SendGrid-flavored Handlebars syntax as defined here.
You can send multiple emails with a single API call using the mail-merge feature. Each recipient receives a separate email with only their address in the To: header, allowing for recipient-specific templating variables.
Note: When using mail-merge, do not include "to", "cc", or "bcc" fields.
Defining Recipients with mailMerge:
curl "http://your-emailengine-instance.local/v1/account/example/submit" \
  -H "Authorization: Bearer <token>" \
  -H "Content-Type: application/json" \
  -d '{
    "template": "AAABgUIbuG0AAAAE",
    "mailMerge": [
      {
        "to": {
          "name": "Recipient Name 1",
          "address": "recipient1@example.com"
        },
        "params": {
          "name": "Recipient Name 1"
        }
      },
      {
        "to": {
          "name": "Recipient Name 2",
          "address": "recipient2@example.com"
        },
        "params": {
          "name": "Recipient Name 2"
        }
      }
    ]
  }'
Each recipient will receive a customized email with their specific information inserted into the template.
Mail-merge emails can be sent as list emails by setting a listId property in the email structure. The listId should resemble a domain name. Recipients will recognize emails with the same listId as part of the same mailing list.
If listId is set, EmailEngine adds common mailing list headers, including a one-click unsubscribe link. Email clients use these headers to provide an easy "unsubscribe" option.
Read more about virtual mailing lists here.
Note: Replace http://your-emailengine-instance.local with the actual URL of your EmailEngine instance.