While you can always add new email accounts directly via EmailEngine's API, you also have the option to let EmailEngine take care of the entire setup process. This approach simplifies user interactions and reduces complexity in your application.
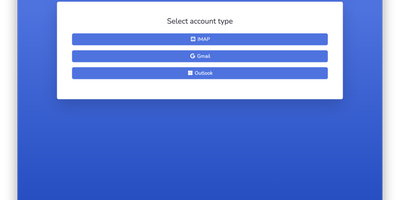
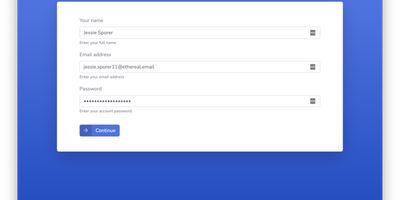
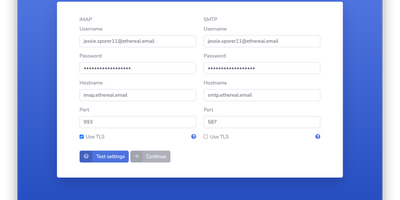
With hosted authentication, you direct your users to EmailEngine’s web-based form, where they provide their email server credentials. After successful configuration, EmailEngine stores the account settings and redirects the user back to your application, ready for use.
Note: If you prefer not to use the hosted authentication form but need to manage OAuth2 flows, consider the alternative authentication server feature.